There’s a certain magic in those lazy childhood sleepovers, isn’t there? The smell of melted cheese and warm bread, the chaos of everyone customizing their own mini pizzas with whatever toppings they could find. It’s not just about eating; it’s about those carefree, flavor-filled nights that stick with you long after childhood. Making these at home today brings back that messy, joyful spirit, but with a grown-up twist on simple comfort food.
What I love most is how adaptable they are. No two are alike, and everyone gets their own little masterpiece. It’s a recipe that invites creativity and chaos, perfect for casual weekends or even a quick weeknight dinner. Plus, there’s something satisfying about assembling and baking your own mini pizzas — it’s almost like a tiny, edible art project.
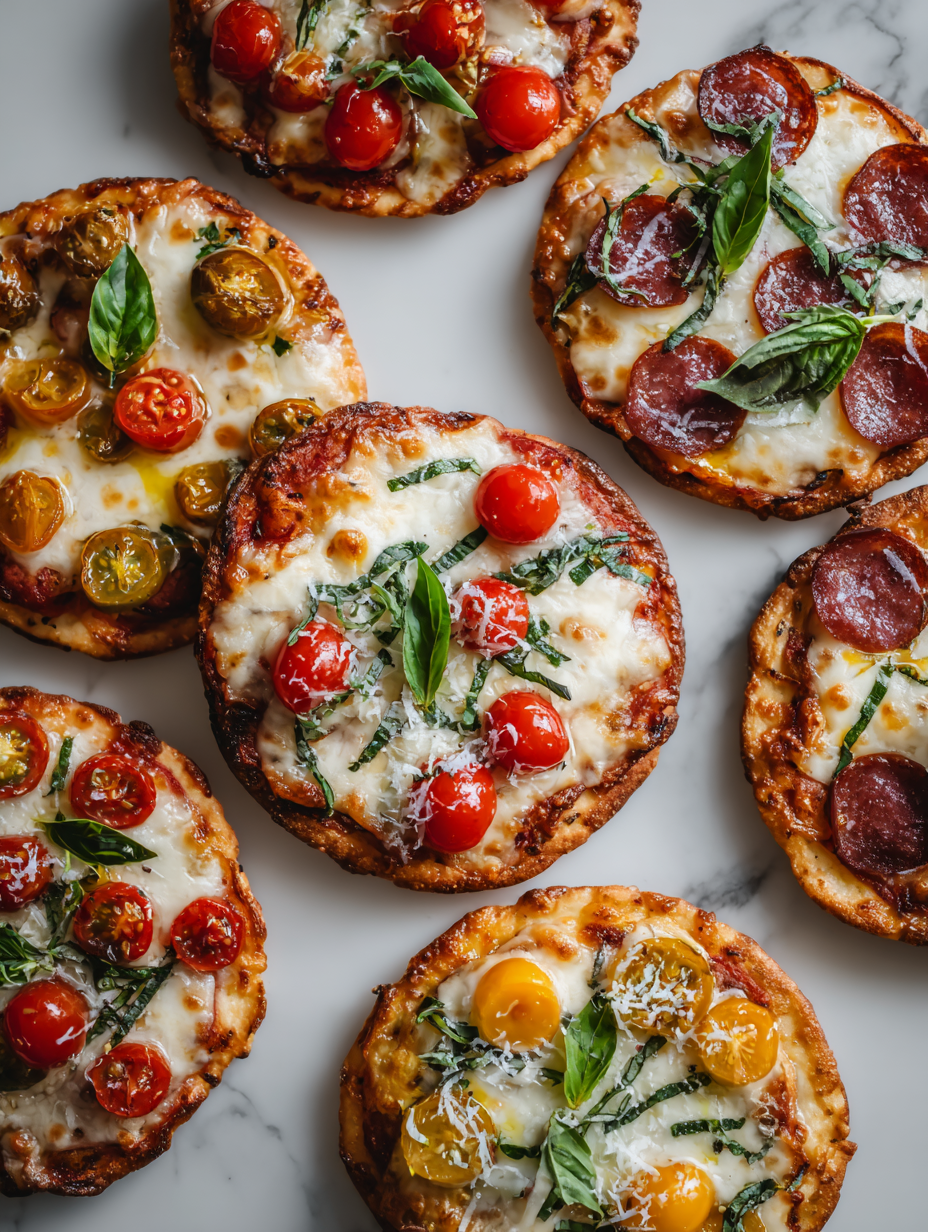
Focusing on the nostalgic charm of childhood sleepovers and the simple joy of customizing mini pizzas with different toppings, bringing back those carefree, messy, flavor-filled nights.
Nostalgic Tiny Pizza Moments
- I love how these mini pizzas make me feel like a kid again, messy fingers and all.
- There’s a quiet pride in customizing each one—seeing everyone’s unique topping combos makes me smile.
- Sometimes, I get a little too ambitious with toppings, and the crust gets a bit soggy—learning to balance is part of the fun.
- Nothing beats the smell of melted cheese wafting through the kitchen on a cozy weekend evening.
- Sharing these with friends feels like a small, imperfect celebration—loud, chaotic, and delicious.
Nostalgic Mini Pizza Memories
Growing up, weekend evenings always meant a pile of bread, cheese, and whatever toppings my family had on hand. Those mini pizzas were our little chaos, each one a wild, cheesy canvas. Years later, I realized there’s something so freeing about that messy, creative process—no rules, just flavor and fun. Making these at home now is my way of reliving those carefree nights, with a bit more kitchen finesse but the same unfiltered joy.
Mini Pizzas Trivia & Origins
- Mini pizzas likely originated in Italy, where small, personal-sized breads have long been a staple in street food markets.
- The concept of customizing small, individual pizzas gained popularity in the US during the 1950s as a fun, casual way to serve pizza at parties.
- Mini pizzas became a staple at school lunches and parties because they are easy to eat with hands and customize for everyone.
- In recent years, they’ve seen a resurgence as a perfect snack for game nights and casual gatherings, embodying a playful, DIY spirit.
Ingredient breakdown: key components
- All-purpose flour: I rely on a simple, soft dough with a touch of olive oil for flavor. Feel free to swap in bread flour for a chewier crust if you like.
- Yeast: I love the subtle lift yeast gives, but if you’re out, a pinch of baking powder can work in a pinch—though it won’t be quite the same.
- Tomato sauce: I prefer a thick, slightly sweet sauce, but a good pesto or even a smear of ricotta can add a fun twist—try it and see!
- Cheese: Mozzarella is my go-to for that bubbly, gooey top, but a sprinkle of Parmesan adds nutty sharpness—use what you love.
- Toppings: I like to keep it simple—pepperoni, bell peppers, or fresh basil—but don’t be afraid to get wild with leftovers or odd bits. The oozy cheese makes everything better.
- Olive oil: A drizzle before baking helps everything crisp up nicely and adds a fragrant, smoky note—don’t skip it.
- Seasonings: A pinch of oregano or chili flakes can punch up the flavor, but I usually keep it minimal so the toppings shine.
Spotlight on key ingredients
Mozzarella:
- I love the way it melts into that gooey, stretchy layer, turning golden and bubbling. It’s the heart of every mini pizza, offering a mild, milky flavor that balances toppings.
- Cheese: When melted, mozzarella develops a fragrant, slightly nutty aroma. Keep an eye on it—over-torched cheese turns leathery and loses its appeal.
Tomato sauce:
- I prefer a thick, slightly sweet sauce with a zing of acidity. It’s the base that makes everything taste vibrant—like a burst of sunshine, especially when it’s bright and fresh out of the jar.
- Sauce: During baking, it bubbles and thickens, releasing a fragrant, roasted tomato smell that’s almost addictive. Too much can make the crust soggy, so spread it sparingly.
Notes for ingredient swaps
- Dairy-Free: Use vegan cheese or a cashew-based sauce instead of traditional cheese. It melts differently but still adds flavor.
- Gluten-Free: Swap all-purpose flour for a gluten-free blend. The texture might be slightly denser but still delicious.
- Low-Sodium: Choose low-sodium tomato sauce and skip added salt in the dough to keep it lighter on salt.
- Vegetarian: Skip meat toppings and load up on colorful vegetables or fresh herbs for bright, fresh flavor.
- Spicy: Add crushed red pepper flakes or jalapeños to the toppings for extra heat and kick.
- Herb Variations: Use fresh basil or thyme instead of oregano for a different aromatic profile.
- Crust Options: Try a cauliflower crust or pre-made flatbread for quick assembly and a different crunch.
Equipment & Tools
- baking sheet or oven-proof pan: To bake the mini pizzas evenly.
- rolling pin: To roll out the dough into thin, even circles.
- sharp knife: To cut toppings or trim excess dough if needed.
- spoon or small ladle: To spread sauce neatly without overloading.
Step-by-step guide to mini pizzas
- Gather your equipment: a small baking sheet or oven-proof pan, a rolling pin, a sharp knife, and a spoon or small ladle for sauce.
- Preheat your oven to 220°C (430°F). Line your baking sheet with parchment or lightly grease it.
- Prepare the dough: mix 2 cups of all-purpose flour, 1 teaspoon of yeast, a pinch of salt, and 3/4 cup warm water. Knead until smooth, about 5 minutes. Cover and let proof for 15-20 minutes until slightly puffy.
- Divide the dough into 8 small balls. On a floured surface, roll each into a 10cm (4-inch) circle, about 3mm thick.
- Place each dough circle on your prepared baking sheet. Spread a spoonful of tomato sauce over each, leaving a small border. Don’t overload; less is more for crispness.
- Top each with your chosen toppings: shredded mozzarella, pepperoni, sliced peppers, or basil leaves. Lightly sprinkle with oregano or chili flakes if you like.
- Bake in the oven for 10-12 minutes. Check for golden edges and bubbling cheese. If tops brown too quickly, cover loosely with foil.
- Remove from oven and let rest for 2 minutes. The cheese should be oozy, crust crisp, and toppings vibrant.
- Finish with a drizzle of olive oil or a sprinkle of fresh herbs. Serve hot, straight from the pan or on a plate.
Let the pizzas rest for 2 minutes after baking to set the cheese. Finish with a drizzle of olive oil or fresh herbs. Serve immediately for the best crispness and gooey cheese.
How to Know It’s Done
- Cheese is melted and bubbly, with golden edges.
- Crust is crisp and slightly puffed around the edges.
- Toppings are cooked through, with no raw vegetables or soggy spots.
Mini Custom Pizzas
Ingredients
Equipment
Method
- In a mixing bowl, combine the yeast with warm water and let sit for 5 minutes until foamy—that's the yeast activating.
- Add the flour, salt, and olive oil to the yeast mixture. Stir with a spoon until a shaggy dough forms.
- Knead the dough on a floured surface for about 5 minutes until smooth and elastic. Cover with a damp cloth and let rise for 20 minutes until slightly puffy.
- Preheat your oven to 220°C (430°F) and line your baking sheet with parchment paper.
- Divide the risen dough into 8 equal portions. Using a rolling pin, flatten each into a thin circle about 10cm in diameter.
- Place each dough circle on the prepared baking sheet. Spread a teaspoon of tomato sauce onto each, leaving a small border around the edges.
- Sprinkle shredded mozzarella evenly over each mini pizza, then add your preferred toppings like pepperoni, sliced peppers, or basil leaves.
- Lightly sprinkle dried oregano over the top for an aromatic boost. Drizzle each with a little olive oil for extra crispness.
- Bake the mini pizzas in the oven for 10-12 minutes, until the crust is golden and cheese is bubbling and slightly browned.
- Remove from the oven and let rest for 2 minutes. The cheese will set slightly, making it easier to serve.
- Drizzle with a little more olive oil if desired, then serve hot and enjoy the cheesy, crispy goodness!
Notes
Tips and tricks for perfect mini pizzas
- BOLD BASE: Use a hot oven and preheat thoroughly to get that crisp crust and bubbly cheese quickly.
- SEASONAL SHIELD: Lightly sprinkle toppings with herbs or chili flakes before baking to enhance aroma without burning.
- CRISP EDGE: For extra crunch, brush crust edges with olive oil and bake on a hot pizza stone or steel if you have one.
- CHEESE MELT: Use shredded mozzarella for even melting. Keep an eye on the cheese to prevent over-browning or burning.
- SAUCE SPREAD: Apply sauce with the back of a spoon, spreading thinly for a crispy crust and well-balanced flavor.
- TOPPING TIDY: Don’t overload toppings; too many can sog the crust. Less is more for that perfect bite.
- REST TIME: Let the pizzas sit for 2 minutes after baking. This helps the cheese set and makes slicing easier.
Common mistakes and how to fix them
- FORGOT to preheat the oven → Always preheat to ensure even baking.
- DUMPED too much sauce → Spread thinly to prevent soggy crust.
- OVER-TORCHED cheese → Reduce baking time or cover loosely with foil.
- MISSED resting time → Let pizzas rest 2 minutes for cheese to set.
Quick fixes and pantry swaps
- When sauce is too thick, splash in a bit of water to loosen it up.
- If cheese isn’t bubbling, increase oven temperature or bake a few extra minutes.
- Splash some olive oil on crust edges for extra crispness during baking.
- Patch soggy spots with a sprinkle of extra cheese and a quick blast in the oven.
- Shield over-browned toppings with foil to prevent burning while keeping heat in.
Prep, store, and reheat tips
- Prepare the dough and pre-cut toppings a day ahead. Keep the dough covered in the fridge for up to 24 hours, which allows for better flavor development and easier handling.
- Assemble the mini pizzas up to 2 hours before baking. Keep them covered in the fridge; the toppings stay fresh and the flavors meld slightly overnight.
- Store baked mini pizzas in an airtight container in the fridge for up to 2 days. Reheat in a hot oven or toaster oven until cheese is bubbly and crust is crisp, about 5-7 minutes. The aroma should be cheesy and slightly smoky, with a satisfying crunch upon reheating.
- For longer storage, freeze baked or unbaked mini pizzas for up to 1 month. Wrap individually in plastic wrap and then foil. Reheat directly from frozen, adding 3-4 minutes to the baking time, until the cheese is gooey and the crust is firm.
- Reheating will soften the crust slightly; for best texture, reheat in a hot oven (200°C/390°F) and avoid microwaving, which makes the crust soggy. The cheese should shimmer and the toppings hot and fragrant.
Top questions about mini pizzas
1. How much sauce should I use?
Use a thin layer of sauce—about a teaspoon—so the crust stays crisp and toppings don’t slide off.
2. What oven temperature is best?
Bake at 220°C (430°F) for 10-12 minutes until the cheese is bubbly and edges are golden.
3. My cheese isn’t melting properly?
If cheese isn’t melting, increase the bake time or turn on the broiler for a minute—watch closely!
4. How do I get a crispy crust?
Use a preheated baking sheet or pizza stone for a crisp crust. It makes a real difference.
5. Can I make these dairy-free?
Feel free to swap mozzarella with vegan cheese or a sharper cheese like Parmesan for different flavor profiles.
6. Can I make the dough in advance?
Prepare the dough a day ahead, keep it covered in the fridge, and assemble just before baking for best freshness.
7. How do I prevent toppings from sliding off?
If toppings slide off, press them in gently and avoid overloading. Less is more for even baking.
8. What’s the best way to spread sauce?
Use a small spoon or ladle to spread sauce evenly; too much can make the crust soggy.
9. How should I store leftovers?
Store baked mini pizzas in an airtight container in the fridge for up to 2 days. Reheat in a hot oven for crispness.
10. How do I reheat frozen mini pizzas?
When reheating, bake from frozen at 200°C (390°F) for about 8-10 minutes until bubbly and crisp.
These mini pizzas are more than just a snack—they’re a quick reminder of how simple ingredients can bring a burst of joy. The smell of melted cheese and toasted crust still makes me smile, even after countless batches. They’re perfect for any casual moment, whether you’re craving comfort or just a fun way to use up leftovers.
In the end, it’s about those small, imperfect wins—the crispy edges, gooey cheese pulls, and the chaos of everyone customizing their own. No matter how many times I make these, they keep that nostalgic spark alive, and that’s what makes them worth the effort.

Hi, I’m Claire Dawson, and I’m the voice behind The Procrastinators Cookbook. Food has always followed me around, even when I was busy putting other things off. Somewhere between long café shifts, half-finished to-do lists, and meals cooked later than planned, I realized that food was the one thing I always came back to.